I've been playing Skyrim for a month and, well, I got really bored of J'zargo running around in Daedric Armor. It was great and all, but seeing it over and over made it an eyesore.
 |
| The armor was getting rather dull in both viewing frequency and color |
So, I switched out my DragonPlate Armor for the Daedric Set and ran around in that for a while.
 |
| Cheese! |
|
And again, I got bored of seeing DragonPlate on him. This time, though, I set out to do something different. Something to curb my desire to hop into Dragon Age 2 and give me something better to look at: I set out to port a Dragon Age 2 armor set into Skyrim. I eventually settled on the Blood Dragon armor.
Disclaimer:
I know porting game content from one to another and releasing it is, in most cases, illegal. I never had any intention on release and never will release it. There are way too many bugs and inconsistencies and I would rather make my own than release someone else's work (though it took a ton for me to get it working).
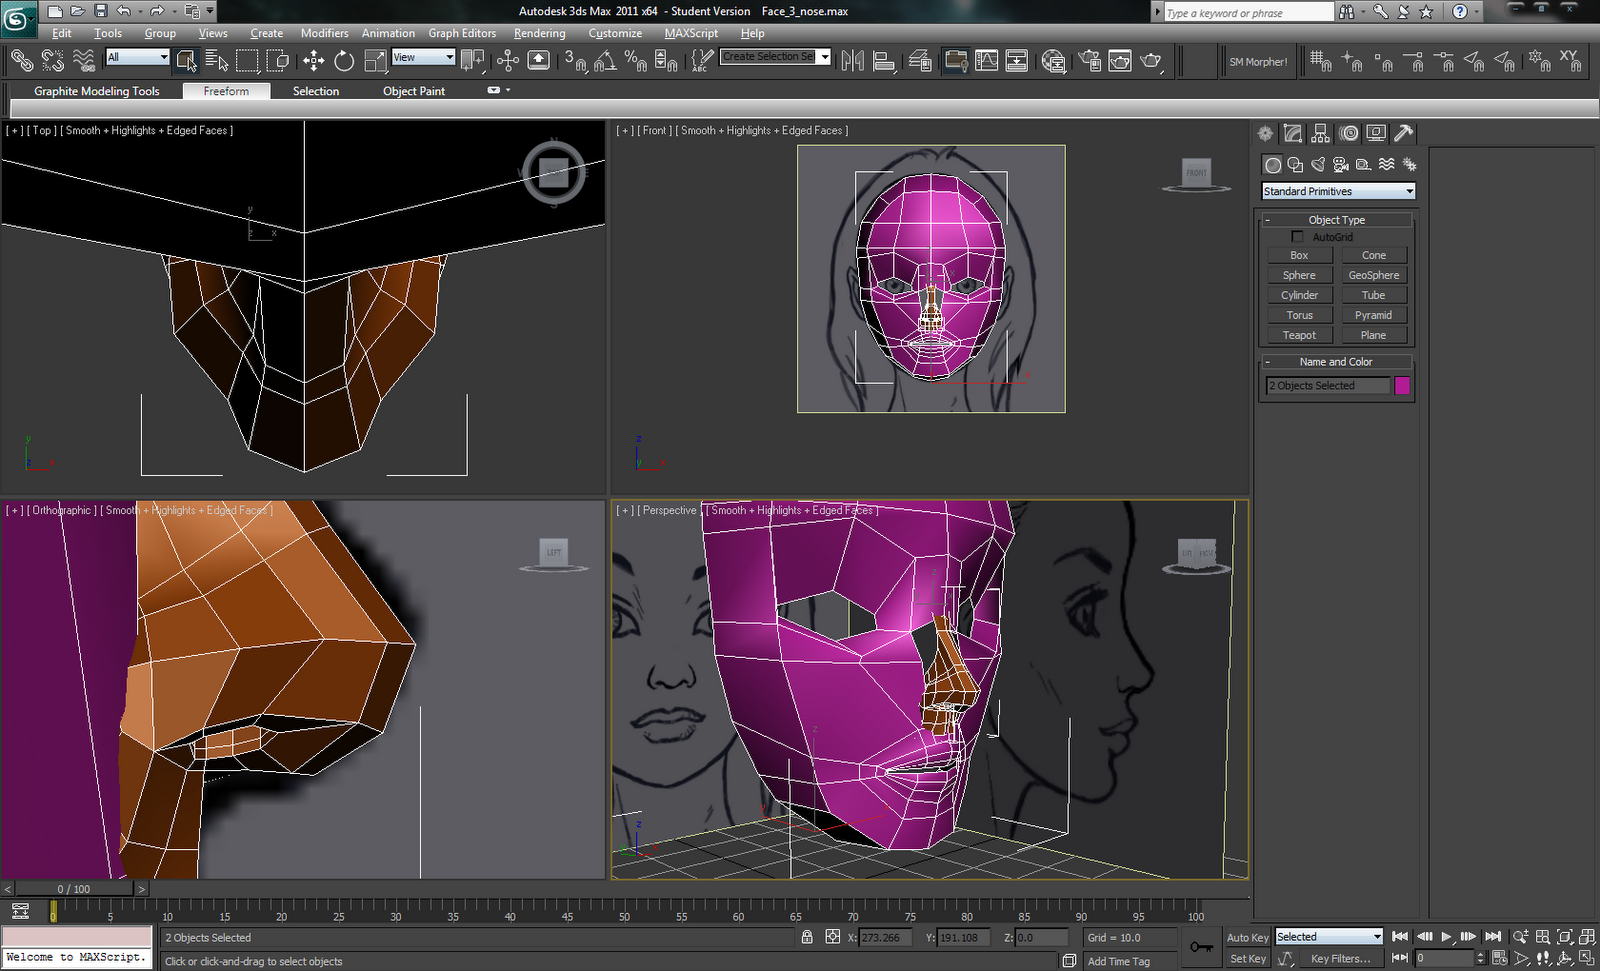
Now, I had barely scratched the surface of what the XSI Mod Tool could do after finishing the Colt-1911 tutorial that ever so conveniently left out the skinning part a few weeks prior. Anyways, every search result I found for manipulating Dragon Age 2 meshes involved Lightwave, Blender, or 3DS Max, no XSI, anywhere. Since I hated the Blender UI the last time I tried it, never heard of Lightwave, and had to make an account just to get the Mod Tool, I decided to finally take advantage of said account and get a student version of 3DS Max 2011. I wasn't sure 2012 would work with the plugins I found, so I went with the safer option.
To keep in line with my disclaimer, I'm also not going to explain what I did so as to avoid telling you how to do this on your own.
Needless to say, diving straight into 3DS Max was difficult. I was constantly trying to navigate using either Hammer or XSI's keyboard shortcuts. So, I watched several tutorials and got a better feel for the UI. A week of crash course learning later and, voila, J'zargo in Blood Dragon Armor:
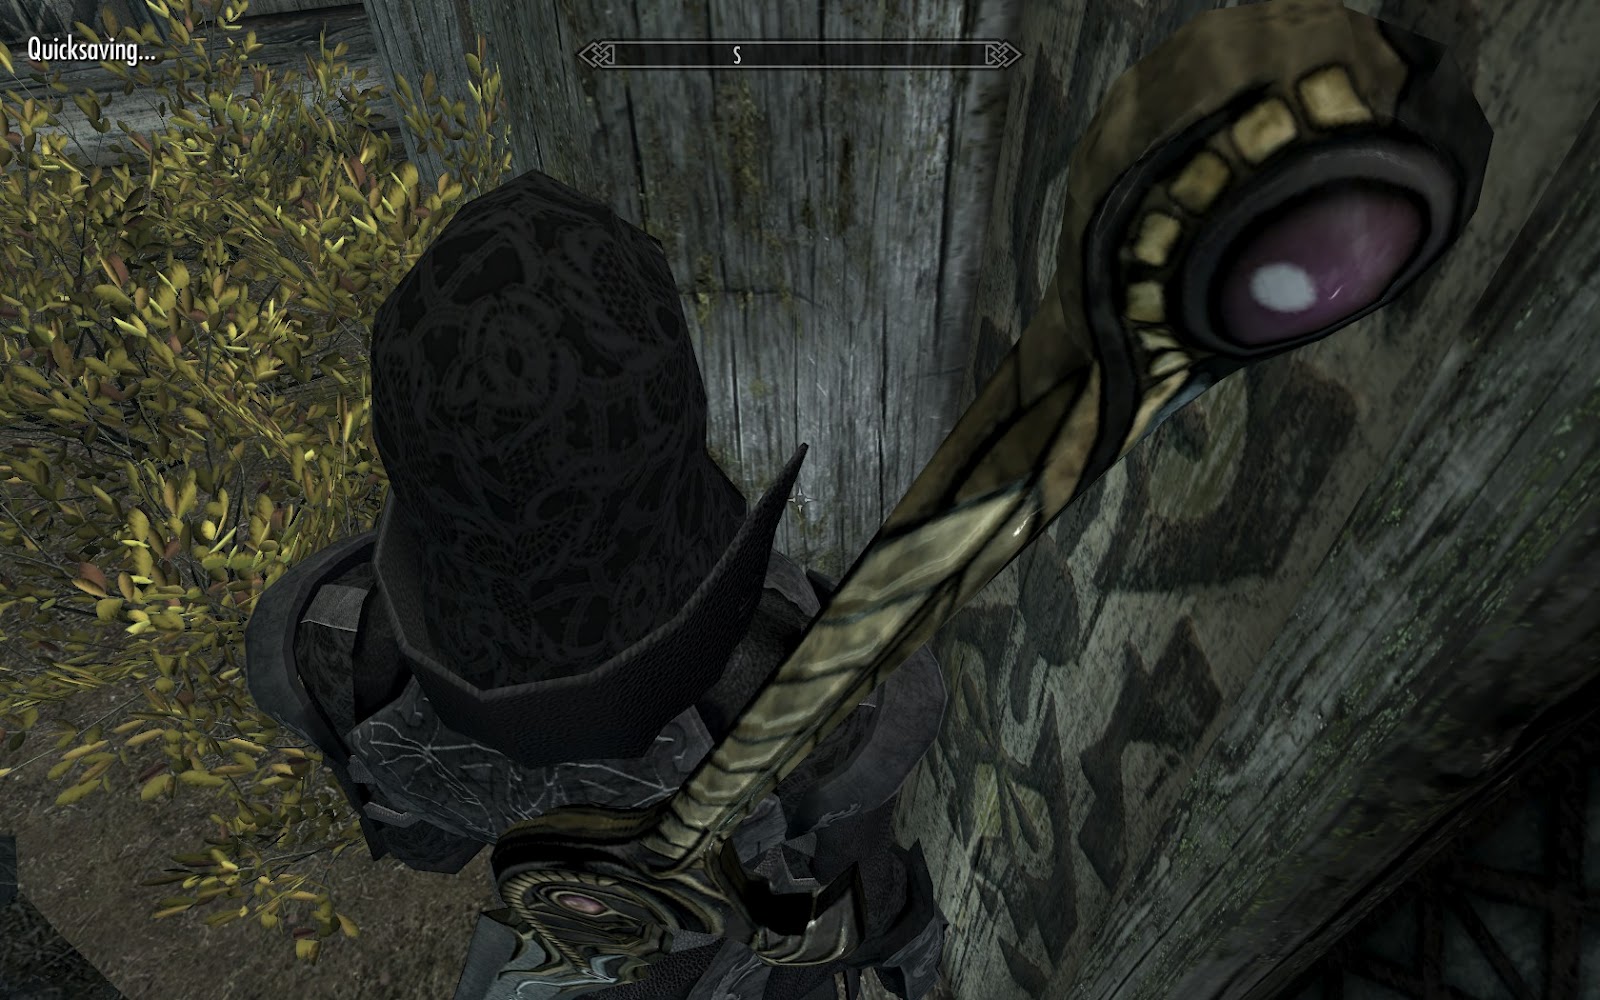
There were some issues with the model such as using the wrong flags for the armor piece and the ever annoying proportion mismatch between Dragon Age 2 and Skyrim.
 |
| If you ignore the ice spike in his noggin, you'll see his hands are rather...off. I fixed the knees later. |
|
Here's some differences I found between the games:
- Skyrim's human women are modeled to be the same height as men, then later scaled in-game
- Dragon Age 2's human women are shorter at the model level, not in-game (they might be scaled later as well, never looked into it).
- Dragon Age 2's humans have shorter arms compared to Skyrim's
- Skyrim's women have large manly hands compared to the petite ones of Dragon Age 2. I'm talking Mossman's mitts from Half-Life 2 here.
In the end, I had a model that, while buggy, fulfilled my desire to have something different to look at and slake my desire to complete my 3rd playthrough of Dragon Age 2 (I'm waiting for all DLC to be done). No idea why, but the red Cyclops visor's center vertices move around so they show the interior of the helmet (i.e. nothing). In 3DS Max, it looks perfectly fine in both the Low and High weight versions.
The female version is just broken. It looks great in NifSkope and 3DS Max, but in game the vertices on the upper spine are missing (I can see the ground through my back), the breastplate is crumpled like she braced a fall with her bosom, and, as mentioned before, the fingers are way, way off (think Hagraven fingers).
It was great while I had J'zargo, but The Companions' quest line progressed to the point where he was forcibly removed from my party. Now, I have the uncustomizable Vilkas floating around, taunting the walls; Meeko, placing his terrible collision box in the MIDDLE of doorways, unable to move backwards, always insisting on moving forward to get out of my way or just not moving at all; and Shadowmere, who just loves charging into massive groups of enemies trying to pull off a Frost-like suicide.