Saturday, April 28, 2012

Vigilant Update

I've been hard at work tweaking the mesh for the Vigilance Greatsword remake. I need to stop tweaking it at some point. I'm already at a rather high number of polys according to the overlay.

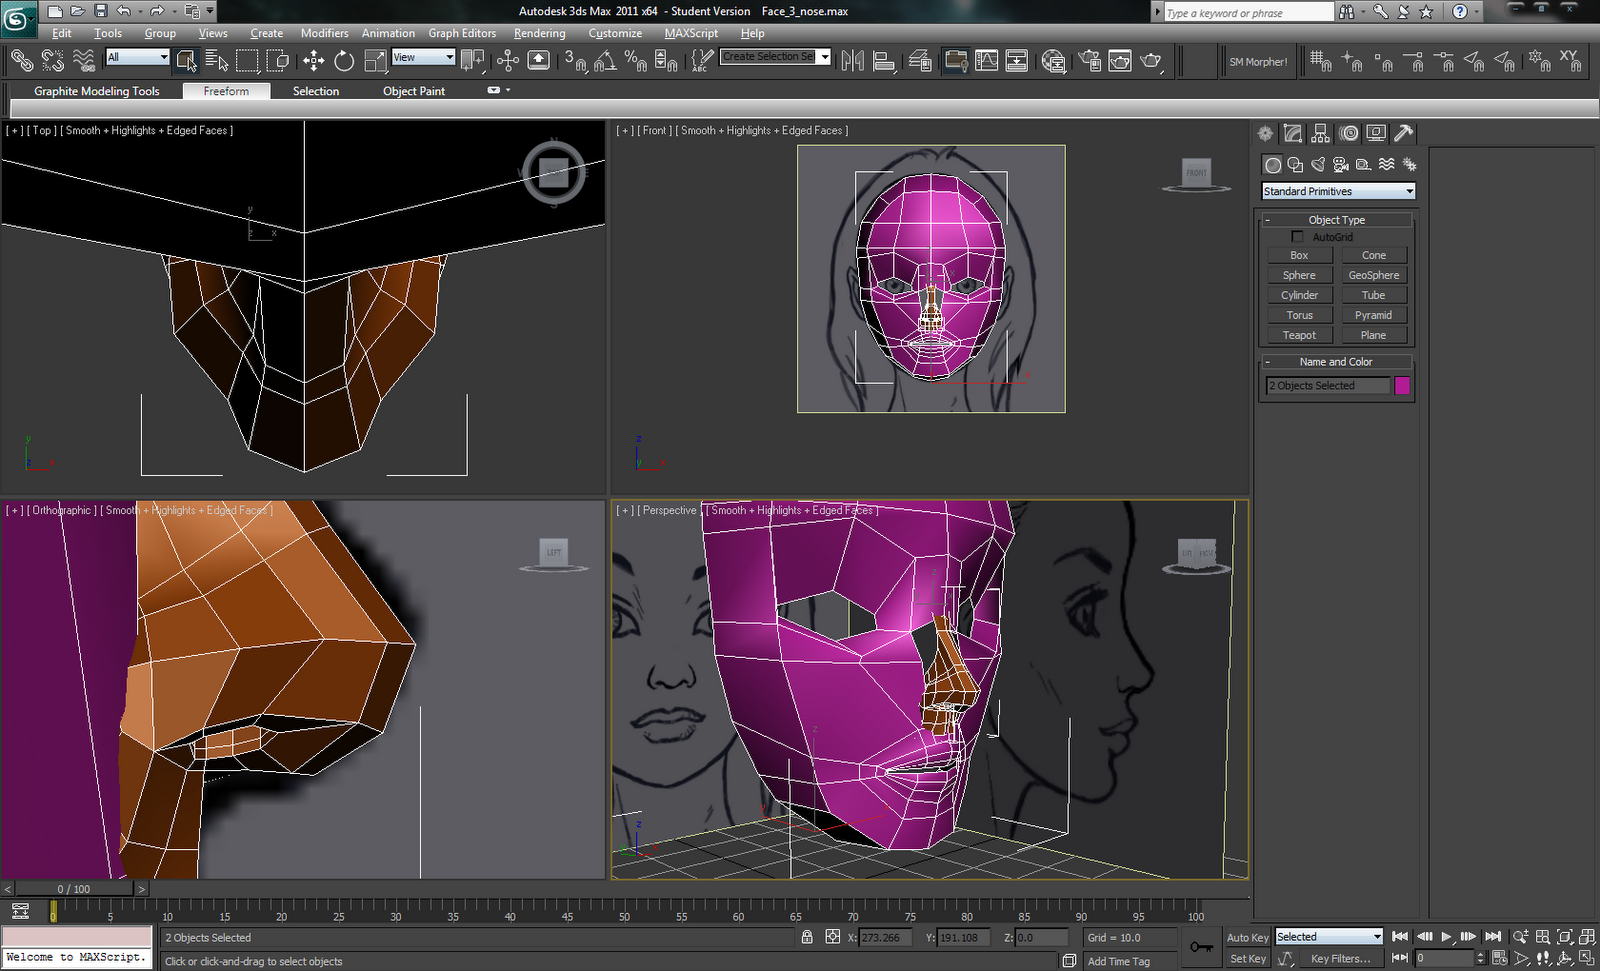
Original mesh on bottom. My mesh on top.
Oh..missing edge. Fixing now...

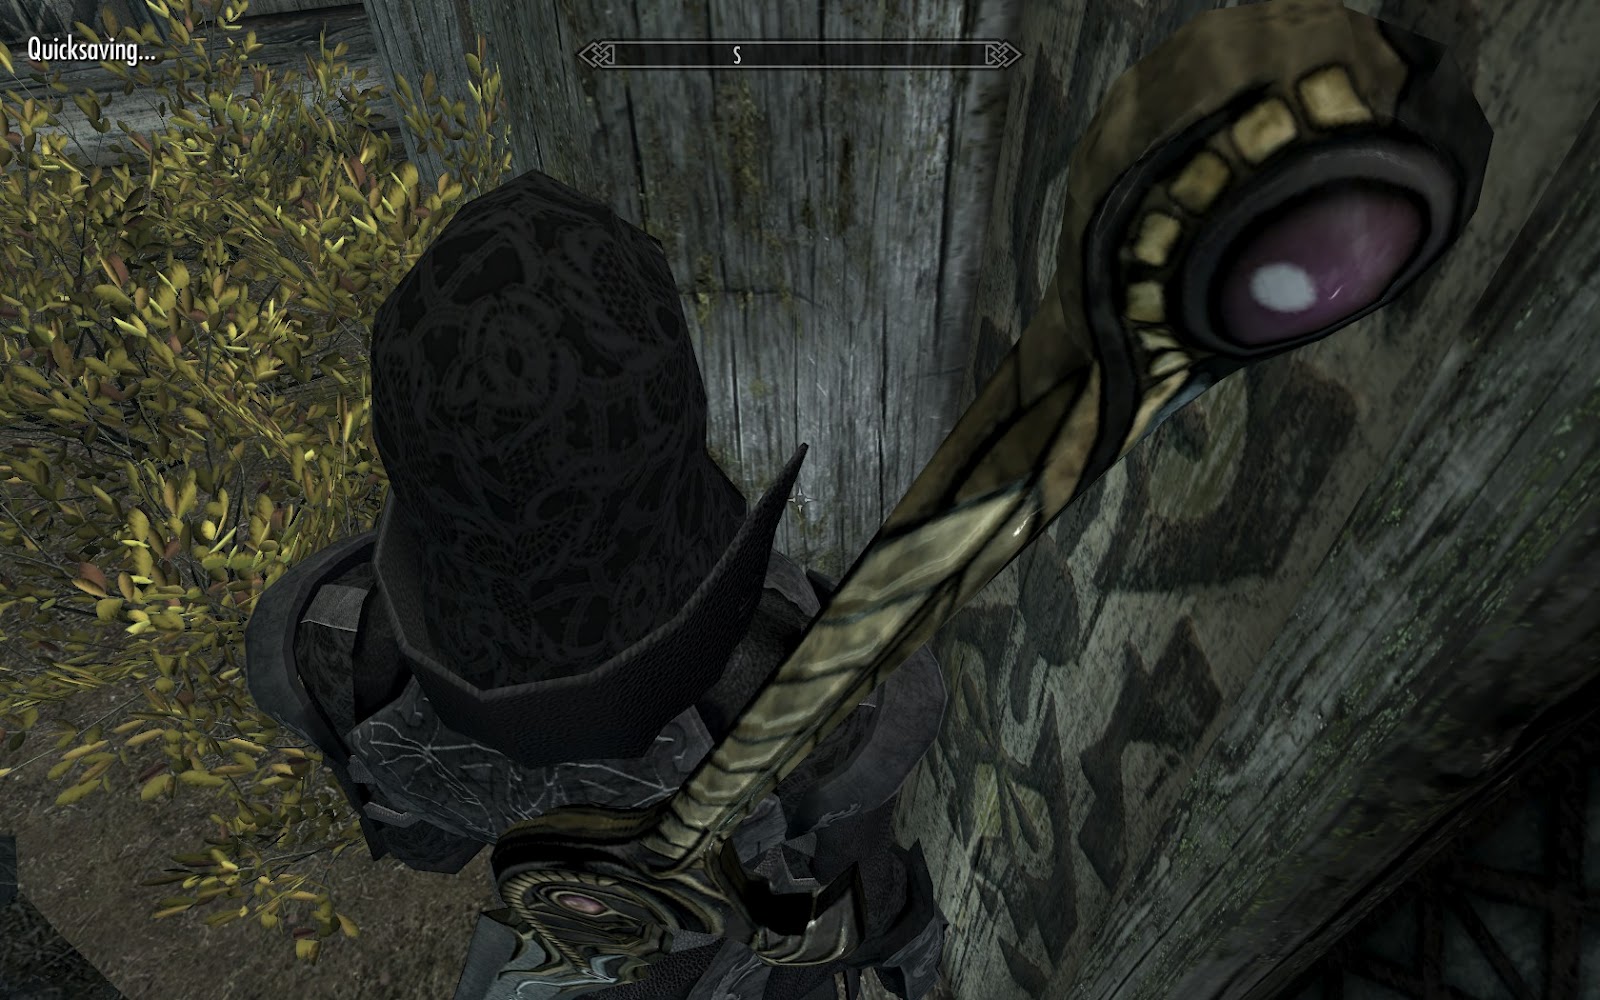
The diffuse texture is just basic colors and shapes right now. I worked on the blade today and got it looking kind of how I want it. The key will be getting the specular right. The only specular maps I've made were ones for when I was messing around in Source creating basic textures. Making one for a model is a bit different (Desaturate diffuse!).


I have no idea how I'm going to make the textures for the rest of the sword. The blade was easy because a) I found a tutorial that came close to what I wanted and b) it isn't intricate. The rest of the sword has a lot of little details I need to take into account and I'm not entirely sure what they should look like.

Yes, I have the original texture and made a high def retexture, but that was simply copying what was already there by using the bevel, outer/inner glow, satin, and pattern overlay layer styles. Fake shading everywhere. I tried doing that again and...well...it looked terrible.

I think what is making the texture really hard is me. I want to keep this as scalable as possible and stick with vectors. But there is no point to doing that. I have it at 1024x2048 and anything larger is wasted space on what little vram I have. I need this to sink in.

Once this is finished, I think I'll release it on the Skyrim workshop. If I do that, I'm going to look into making glowing gems, adding flames, and a blood splatter mesh. I don't know why I want this sword so much, but the skills/experience I'm picking up are worth it.

Thursday, April 19, 2012

Getting carried away

I've nearly finished my texture for the Vigilance Greatsword. All that's left is the base material for the body and blade. Right now, my main complaint is how I used the bevel tool to give it a glossy look instead of relying on the specular map.

Original on left. Remake using vectors on right.


The odd way it looks in game brought my attention to something rather obvious: the sword is flat. No details. Just the normal map faking geometry. So, while the character modelling tutorial series I'm following is stalled, I'm remaking the sword.

Original mesh on bottom. My recreation on top.

So far, I have the base of the sword (blue) and most of the details. I'm not using any smoothing right now and I'm trying to keep it as low poly as I can without sacrificing too much accuracy to the original detail. I'm hoping recreating the mesh, instead of modifying the original one, will help me avoid all those weird edge loops (or lack thereof).

Since I'm remaking everything, I'm going to change how the UV map is laid out. Right now, the official UV mapping breaks the grip 3/4 of the way up with the last 1/4 on the crossguard. Additionally, the blade UV is broken at the end of the details in the above image.

This makes it hard to recreate the texture as I need to account for the rotation and slight downscaling in the UV. From the positioning, I can understand why they'd do it that way; it is condensed into a smaller 256x512 frame instead of a square 512x512. But this is 2012 and I might as well push my 512MB 9800gt to the limit. So, I'm going to explore different layouts and see if I can make a better UV that keeps both the grip and the blade in their respective continuous sections.

I'm hoping I can get 3DS Max to behave and actually generate a normal map for me to use. The last time I tried to generate a normal map for a model, it gave me empty images. If it fails to do so, I'll do it by hand. Well, I'm not sure you can call the Nvidia NormalMap plugin doing it by hand, but I'll have to reprocess my vector texture and modify the plugin's output before sending it through a second time.

Friday, April 13, 2012

Test Map Pack 4 Released

I had to take a couple days to comb through the last 7 maps to iron some things out before release. For a twist, though, I actually had a couple people playtest the maps and provide feedback.

The maps this time around weren't as complex in implementation or concept as my others. I'm not sure what to make of that. I had fun anyways, so I don't think it matters.

Grab it here

For those that haven't played my other packs:
Test Map Pack 1
Test Map Pack 2
Test Map Pack 3

And here's my first released Portal 2 map (which was actually made while I was in the middle of Test Map Pack 1):
Bits or Pieces

Monday, April 9, 2012

Portal 2 - Don't Look Back video release

Took a while to get this together. I was working a lot on a mod and things didn't click for a bit.


I'm pretty happy with it. It does make me want to mess with material proxies again. You can achieve quite a lot with them.

I believe I have 7 maps done, so now I can get to compiling Test Map Pack 4. That means linking them up with transitions/triggers, compiling both HDR and LDR, playtesting, and packing materials.

Wednesday, April 4, 2012

Another day, another project

   Iwkya1 has been continuing his 3d character modelling tutorials. Lately, it's been eyes, mouth, and nose. It's rather interesting how you can get such a low poly shape that (more or less) accurately represents rather complex features. I had thought you'd go all out and make it as high poly as possible, then reduce it down so you preserve what you want while still having a high poly version to do baking.

   I know I shouldn't, but I'm waiting for Iwkya1 to merge the meshes together. I want to see if he has some trick to it.


   I haven't been doing a lot of mapping for myself lately. Right now, I'm working on a little scene for a mod and making its logo. I think I'm going to revisit an idea that didn't work and make it so I can finish Test Map Pack 4.

   I've imported the Vigilance Greatsword from Dragon Age 2 into Skyrim. I liked it in both Awakening and DA2. Being that it was never obtainable in game, the HD texture pack for DA2 didn't include a higher res version. So, I've been recreating every little piece of it using vectors in Photoshop so I can scale it up easier.
   The mesh is low poly but uses what appears to be a high poly generated normal map. I scaled that up using Bicubic Smooth enlargement to double its size in 10% increments. Then, I used the blur tool to get rid of pixelation (probably not the best solution, but it worked).

These are old pics of Vigilance I was using to see what was wrong. I'm correcting things now.


Maybe I should email the devs and ask if they could release/send me the higher res texture. Asking for the mesh would probably raise some flags.